We have a problem with damp in our house and from October to April we have an endless battle to remove as much moisture from the air as possible to reduce mould. There are two main tools in our fight to prevent mould: a dehumidifier and our Karcher Window Vac.
 |
| How we tackle condensation and damp |
Removing Window Condensation With A Window Vac
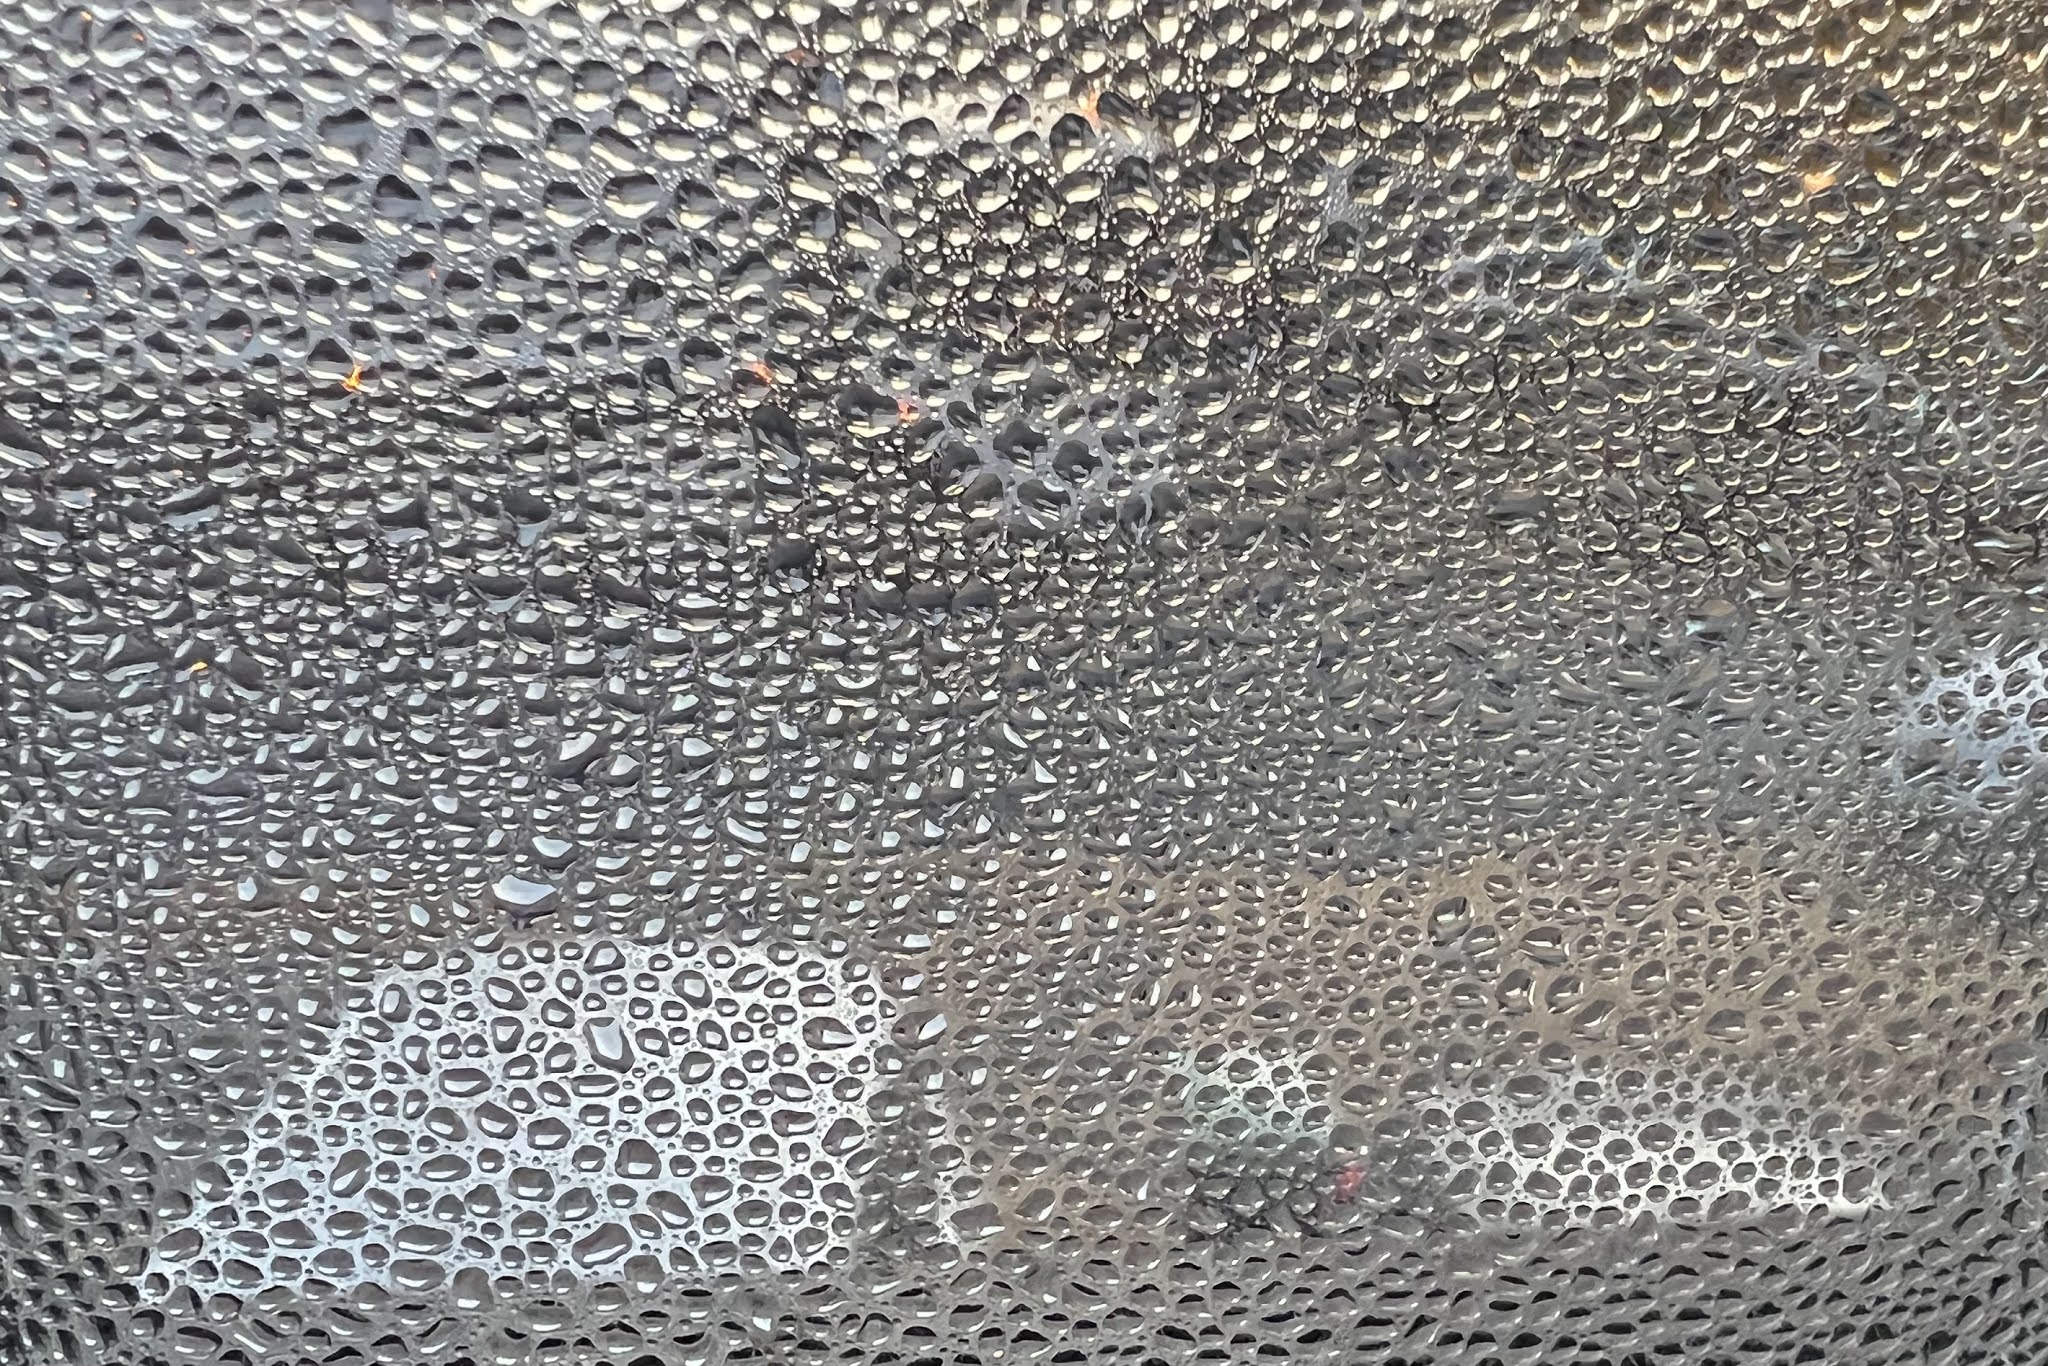
In cooler months when we open our bedroom curtains the internal side of the windows are covered in condensation. The colder it is outside and the more insulating the curtains the wetter the windows are. In the course of the day this moisture evaporates back into the air but a really effective way to remove it from the house is to suck it up in the morning using our window vacuum.
Before we had a window vacuum we used to use rags to dry the window each morning. This was less effective and has the problem that anything you can’t squeeze out of the fabric will evaporate back into the air when it dries.
 |
| Clearing condensation from windows |
Best Way To Use A Window Vac
When the condensation builds up on the window it forms droplets which run down the window on to the window sill. These are harder to remove that water on the glass so the aim is to avoid droplets.
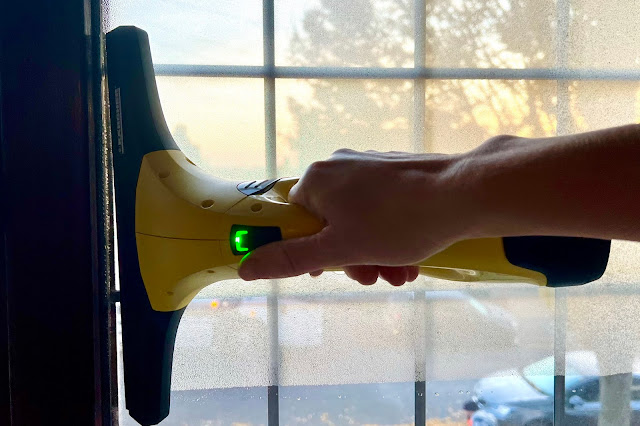
We start at the bottom of the window which is often the most wet and make sure the suction part of the window vac is flat on the window, but as close to the edge of the window as possible. The suction part does need to be completely in contact to be most effective so if you have narrow windows you will need a narrow attachment.
Once turned on my partner then moves upwards (holding the vac upside down) but I find I have better results going from one side to the other. Whichever way you choose don’t go too quickly or the vac can’t absorb the water fast enough and you end up moving some of the water rather than suctioning it up. Sometimes it also leaks out if moving too quickly for the amount of water.
We really like using this tool as it is one of those satisfying bits of kit which you can see the impact as you do it. On very cold days new condensation forms on the windows after it has been cleared once and I see this as an opportunity to get rid of even more humidity from the house, bonus.
 |
| Clearing condensation with a Karcher window vac |
Karcher Window Vac Review
We bought our Karcher window vac several years ago and although they now have newer models on the market with new features, a longer battery life and different size heads, the basic model works great and I don't feel the need to upgrade.
The window vac charges pretty quickly (under 2 hours) using the included charger and a full charge lasts us at least a week, with about 25 minutes suction time. The rechargeable battery can clean up to 70m2 on a single charge. It has a 100ml capacity tank which we often fill before completing clearing the large window in our room, but it is fairly simple to empty although this varies between models. With the VW 1 model you need to pull out the tank and remove the tube from the top before pouring the water out. The VW 2 version is easier with a stopper you pull out on the tank and pour the water out without removing the tank.
There is a noise issue with the vac thanks to a noisy motor (50db) and also the squeaking as you move across the glass. While it’s possible the motor might be quieter on other brands (it's hard to tell though as other brands don't seem to advertise the noise level), the squeaking is inevitable with this rubber/ silicone squeegee design on glass.

